AI Image Upscaler
Increase JPG, PNG, or WebP resolution 2× or 4× while keeping the source aspect ratio. Use it when a small image needs more pixels for a larger layout.
Open Image UpscalerEnhancePhoto improves JPG, PNG, and WebP images through a free local browser preview or a credit-based Standard enhancement, so you can test the look before choosing stronger AI processing.
 BeforeAfter
Choose a focused workflow for the image problem in front of you.
Increase JPG, PNG, or WebP resolution 2× or 4× while keeping the source aspect ratio. Use it when a small image needs more pixels for a larger layout.
Open Image UpscalerUse the dedicated restoration route for old photos affected by scratches, fading, noise, or soft detail instead of treating every problem as simple enlargement.
Open Photo RestorationCompare the same image before and after focused improvements to photo quality — clarity, lighting, texture, and balance.
AI-generated illustrative comparisons · not provider-generated output
01
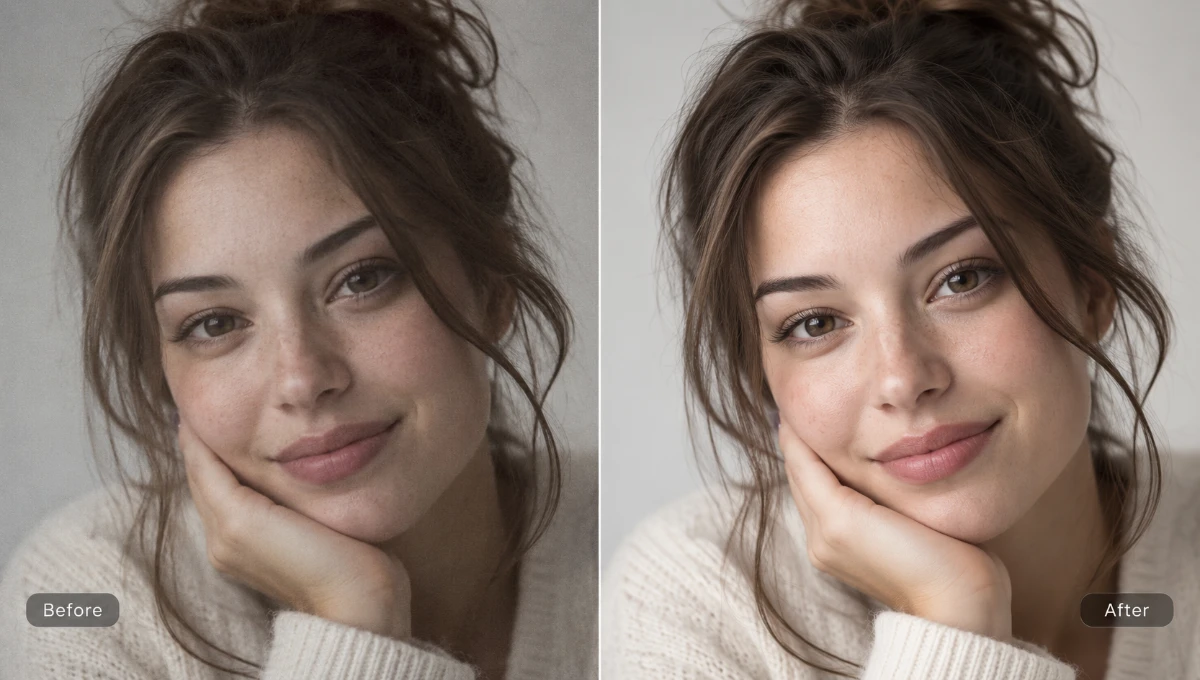
Blurry, soft portraits hide eyelashes, hair strands, and clothing edges. Portrait enhancement sharpens clarity around the face without changing who the person is, giving you a cleaner image for profiles, family albums, professional bios, or larger on-screen viewing.
BeforeAfter02
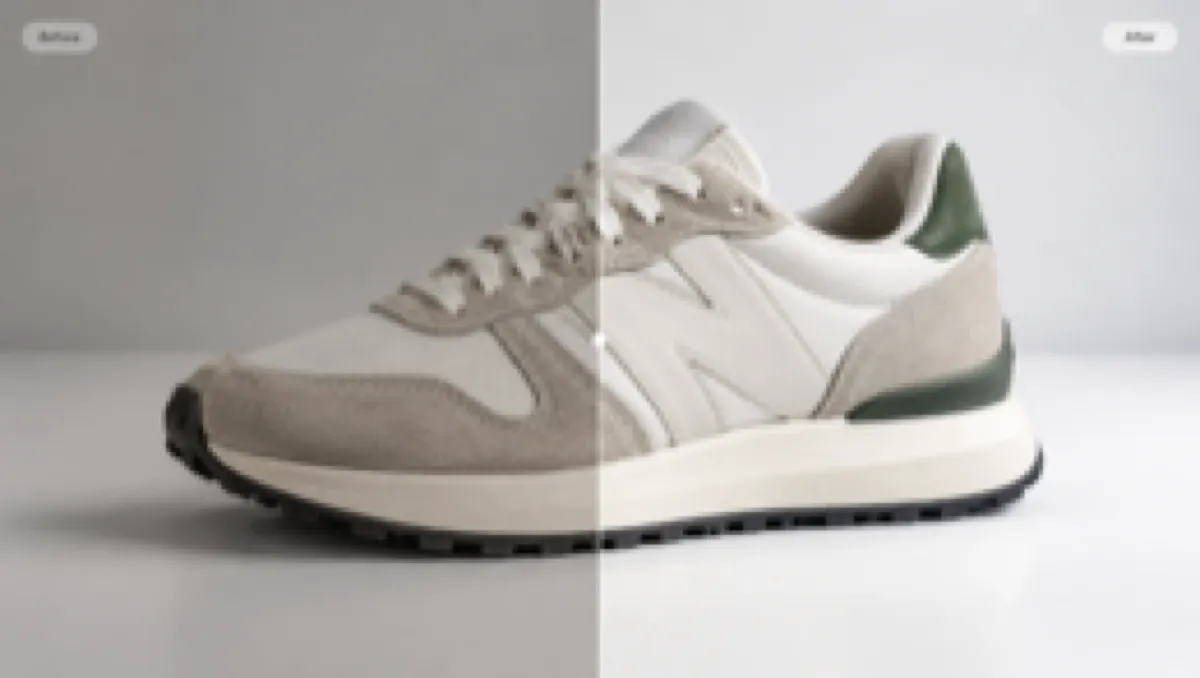
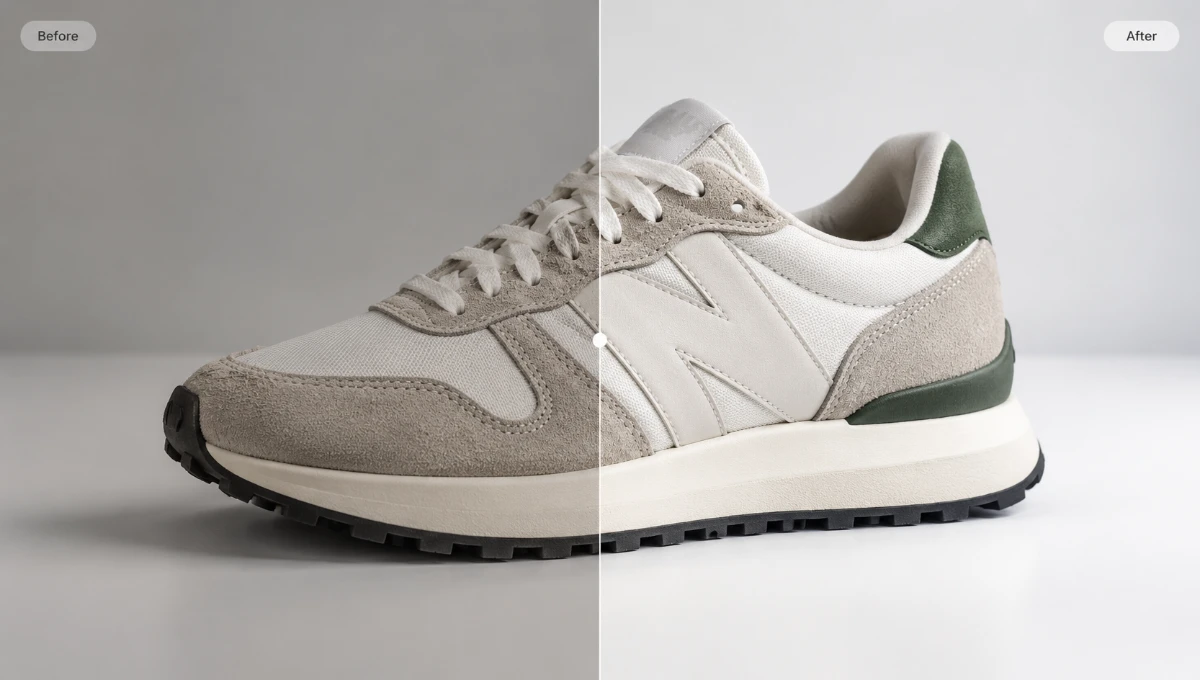
Small product shots can make seams, labels, materials, and outlines difficult to inspect. Product enhancement clarifies those visible cues while keeping the item recognizable, helping storefront galleries, marketplace listings, catalogs, and campaign layouts. When pixel dimensions are the main limit, upscale product photos for larger layouts before final placement.
 BeforeAfter
03
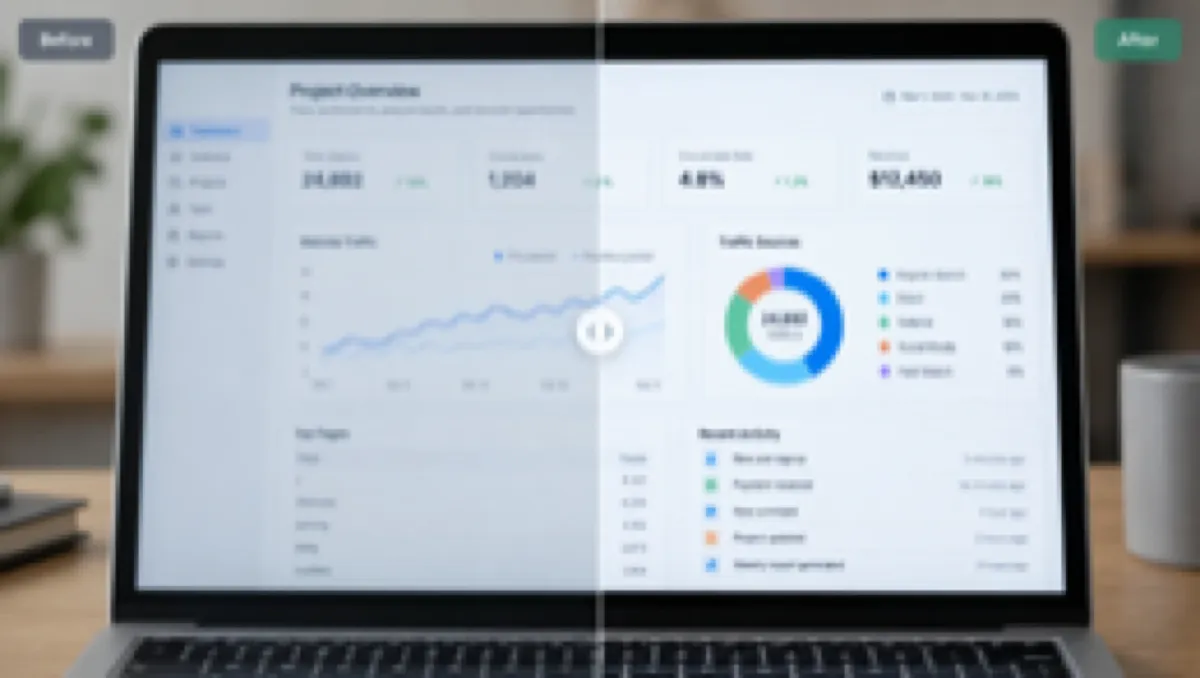
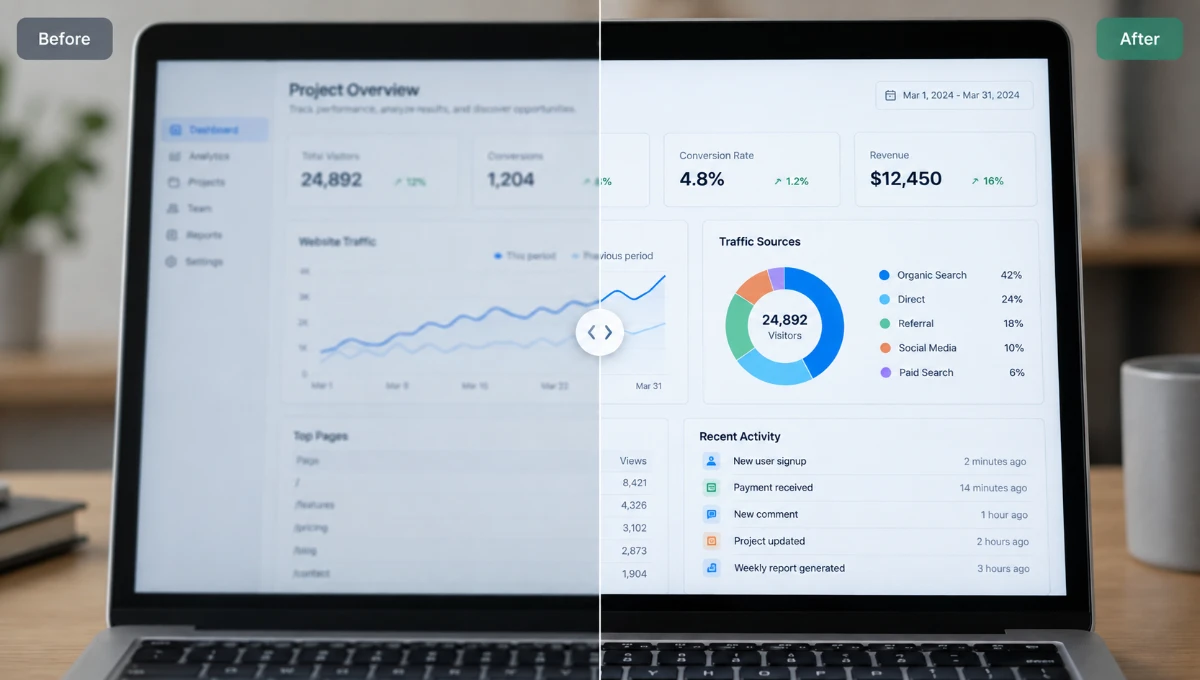
Compressed screenshots often leave menus, chart labels, and small interface text looking soft. This mode emphasizes readable edges and contrast without claiming to rewrite or correct the words, making the result easier to place in tutorials, reports, presentations, and support documentation.
 BeforeAfter
04
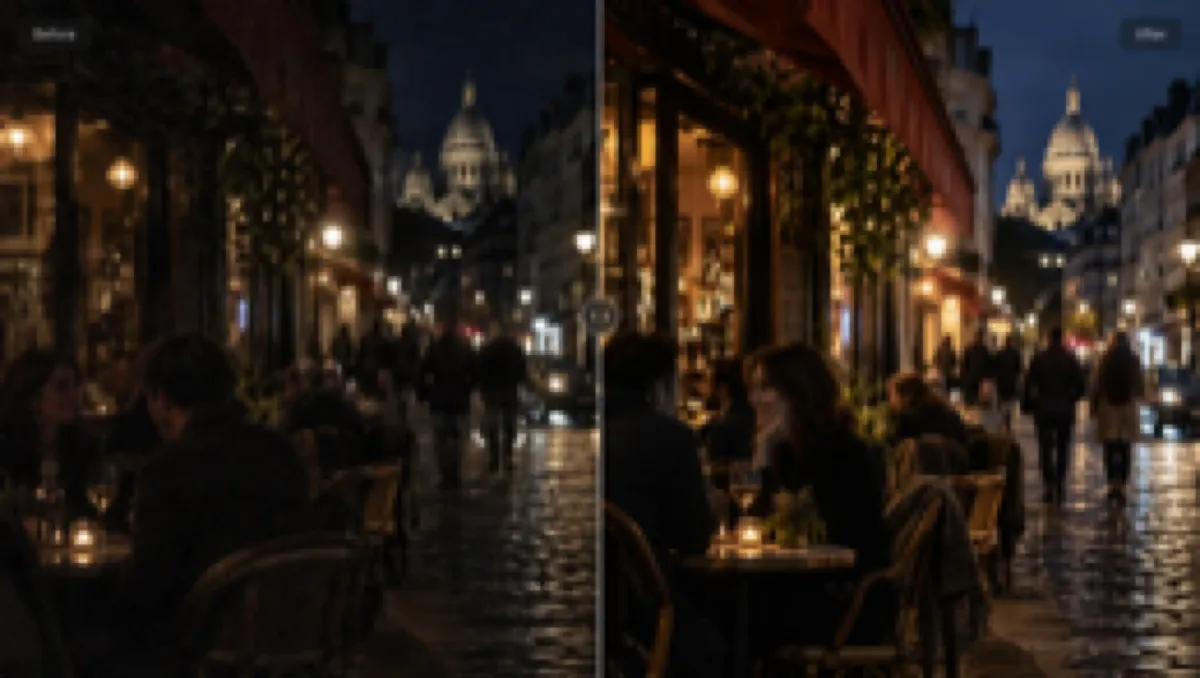
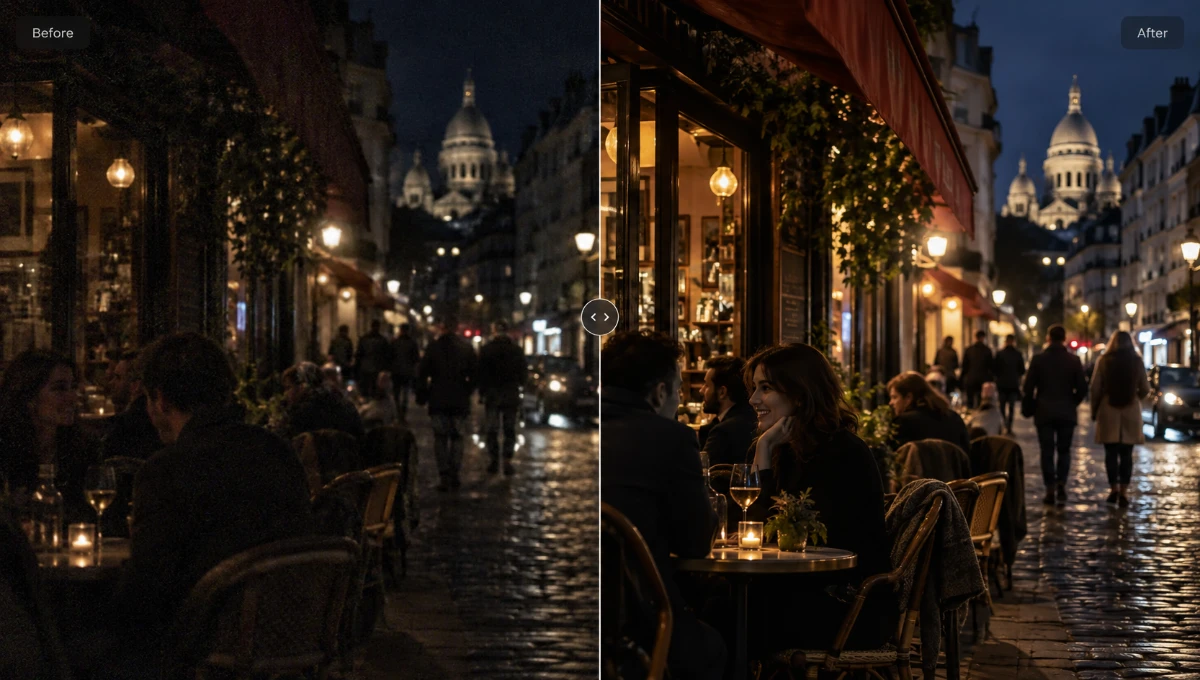
Dim photos can bury useful shadow information while bright signs or lamps remain harsh. Low-light enhancement lifts visible detail, moderates tonal imbalance, and keeps the scene believable, producing a more usable image for night travel posts, indoor event photos, property listings, or personal archives.
 BeforeAfter
05
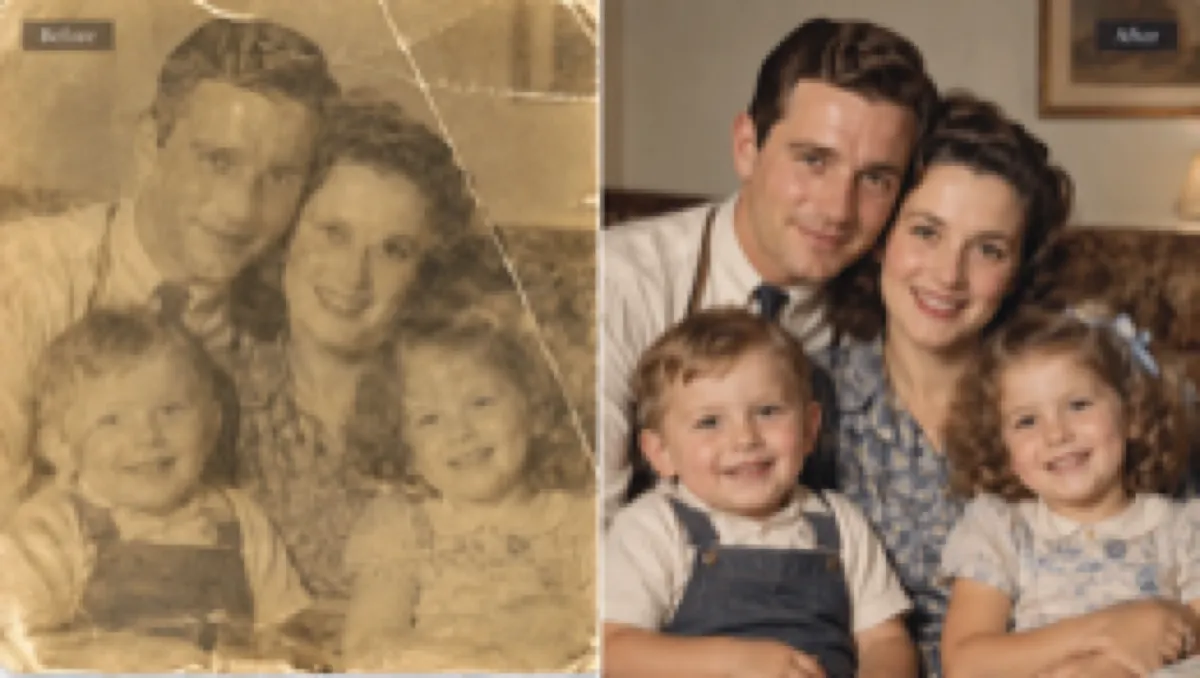
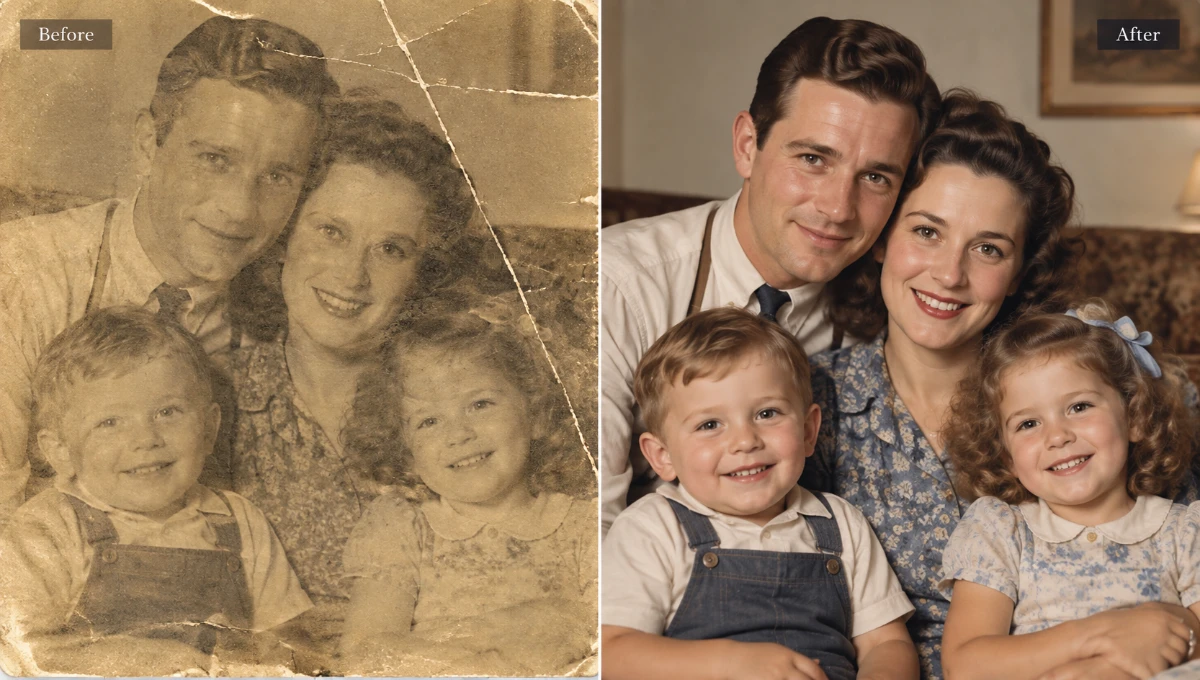
Old scans may carry fading, scratches, noise, and softened faces. Restoration targets those visible signs of age while keeping the original moment recognizable, preparing the photo for family sharing, archiving, or reprinting. For a dedicated repair workflow, restore old family photos online and inspect important faces carefully.
 BeforeAfter
06
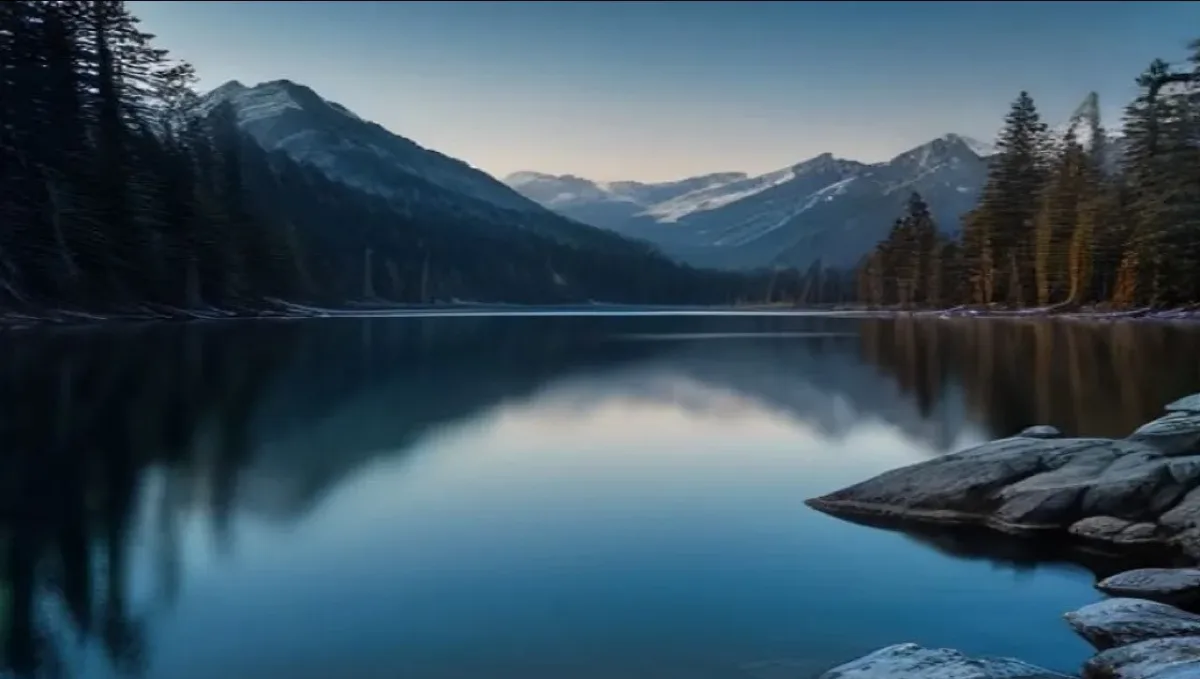
Hazy landscapes and soft travel photos can lose texture in foliage, rock, water, and distant structures. Scenery enhancement improves visible separation and tonal balance without turning the scene into a different place, helping images hold up in travel stories, desktop backgrounds, portfolio galleries, and screen presentations.
 BeforeAfter
Some images mainly need more pixels; others need repair. These examples describe common enhancement goals and point only to tools that are already available on EnhancePhoto.
AI-generated illustrative goals · links below use live EnhancePhoto tools
Portraits
When a portrait comes out blurry or simply too small, enhancement and extra resolution bring eyes, hair, and clothing edges back into focus for inspection at the final size.
Product photos
Catalog and marketplace images often need enough resolution to inspect the product silhouette, seams, packaging edges, and small surface detail without changing the product itself.
Screenshots and text
A screenshot, diagram, or text-heavy image may simply need more pixels before it is placed into a slide, document, or product page.
Old photos
Scratches, fading, noise, and soft detail are restoration problems rather than simple enlargement. EnhancePhoto already has a dedicated Photo Restoration route for that job.
Print and displays
Add useful pixel dimensions before placing a photo in a poster, presentation wall, exhibition screen, or other large-format layout.
Old photos
Move faded or damaged scans into a focused restoration workflow, then review faces, textures, and repaired areas before sharing or printing.
EnhancePhoto currently exposes two enhancement-focused routes. Choose by problem: add resolution, or repair an old photo.
Increase JPG, PNG, or WebP resolution 2× or 4× while keeping the source aspect ratio. Use it when a small image needs more pixels for a larger layout.
Use the dedicated restoration route for old photos affected by scratches, fading, noise, or soft detail instead of treating every problem as simple enlargement.
Start with the free local preview to judge the direction in your browser, then choose a credit-based Standard or Pro route when you want a higher-quality finished image.
Enhance Your PhotoFrom upload to download, every choice stays visible before processing.
Choose a photo in JPG, PNG, and WebP images. The interface prepares it for the selected workflow without starting an enhancement run yet.
Select Local for a free browser preview, Standard for AI enhancement, or Pro for stronger processing. The interface shows the required credits before every run.
Start processing when your category and route are ready. A visible processing state lets you know the enhancement is still underway.
Review the original beside the result, then download. A paid balance removes the watermark; a zero paid balance adds one and shows the upgrade prompt.
Six visible mechanisms make this AI photo enhancer easy to trust — every route shows what it does before processing.
The Local route processes the file inside your browser, so you can test a lighter enhancement without uploading it.
Standard sends the photo to an AI provider for stronger processing, letting you judge whether that route fits the image.
Downloads are watermark-free when your paid balance is positive; at zero, the result includes a watermark and an upgrade prompt.
The interface displays the credit charge before Standard or Pro processing begins, so the cost is visible before submission.
Local files never leave the browser. Standard and Pro files are uploaded to the processing provider after you start the run.
Open the browser interface on desktop, tablet, or mobile and follow the same upload, route, comparison, and download flow.
Answers about the homepage shell, supported local inputs, live enhancement routes, and what is still intentionally unavailable.
Quick Enhance is free, needs no sign-up, and runs locally in your browser. Standard Photo Enhancer uses Real-ESRGAN for a fixed 2× enhancement at 2 credits. Single mode is active today — Batch is labeled Coming Soon. Image Upscaler and Photo Restoration offer dedicated workflows.
Yes — with the right route. Real-ESRGAN enhancement rebuilds edges and fine detail, which is what actually brings a blurry photo back into focus. Quick Enhance only adjusts tone, color, and brightness in your browser — it refreshes a photo without inventing missing detail. For soft portraits, pick the Portrait category for face-aware enhancement.
No. Selecting a JPEG, PNG, or WebP file only creates a local preview. Quick Enhance keeps the file inside your browser; Standard uploads it to the processing provider only after you press the enhancement button.
The input accepts JPG, PNG, and WebP files up to 10 MB. The PNG, JPG, and WebP buttons set the Quick Enhance export format; when Standard is selected, the provider controls the output format and those buttons are disabled.
Yes. Quick Enhance creates a local result without provider work. Standard submits one image to the verified Real-ESRGAN route and returns the result through the existing controlled source/download path.
Trying it is free and needs no account: Quick Enhance runs entirely in your browser. AI routes deduct credits — Standard costs 2 per run — and the tool shows the exact amount on the button before processing starts.
Quick Enhance exports never carry a watermark — the file never leaves your browser. For AI-enhanced results, watermark-free downloads follow your remaining paid credits; when that balance reaches zero, image downloads carry a small enhancephoto.org mark with an upgrade option.
Standard doubles the pixels — a 2000 × 1500 photo becomes 4000 × 3000, reaching 4K-class width. When you need even more pixels for print or large screens, the dedicated Image Upscaler offers 2× and 4× factors on the same account.
Enhancement improves perceived clarity, detail, and balance, while upscaling increases pixel dimensions. They pair well: enhance first so detail is rebuilt, then upscale when the layout needs more pixels. Real-ESRGAN reconstructs detail instead of just stretching pixels, so results stay sharp rather than soft.
Yes. Standard enhancement clears the softness, haze, and noise that build up as photographs age, and scans of family prints are typical inputs. For faded or physically damaged photos, the dedicated Photo Restoration workflow repairs them step by step.
Yes. EnhancePhoto runs in any modern browser — there is no app to install. On a phone you can pick a photo from your camera roll, enhance it, and download the result in the same tab.
You keep the rights you hold in your photos — EnhancePhoto claims no ownership just because you process a file here. Commercial use is fine as long as you have the rights to the source image and follow the Acceptable Use Policy linked in the footer.
Email support@enhancephoto.org for support. Privacy Policy, Terms of Service, and Acceptable Use Policy are linked in the footer.